Update (01/09/2016): New version here
Let’s say you bought an Arduino and a starter kit, but you don’t own (yet!) a lot of tools, like a multimeter or an oscilloscope. And yet, you need to read a tension to make sure your circuit is working properly. How do you do that?
Simple: with your Arduino
You’ll only need:
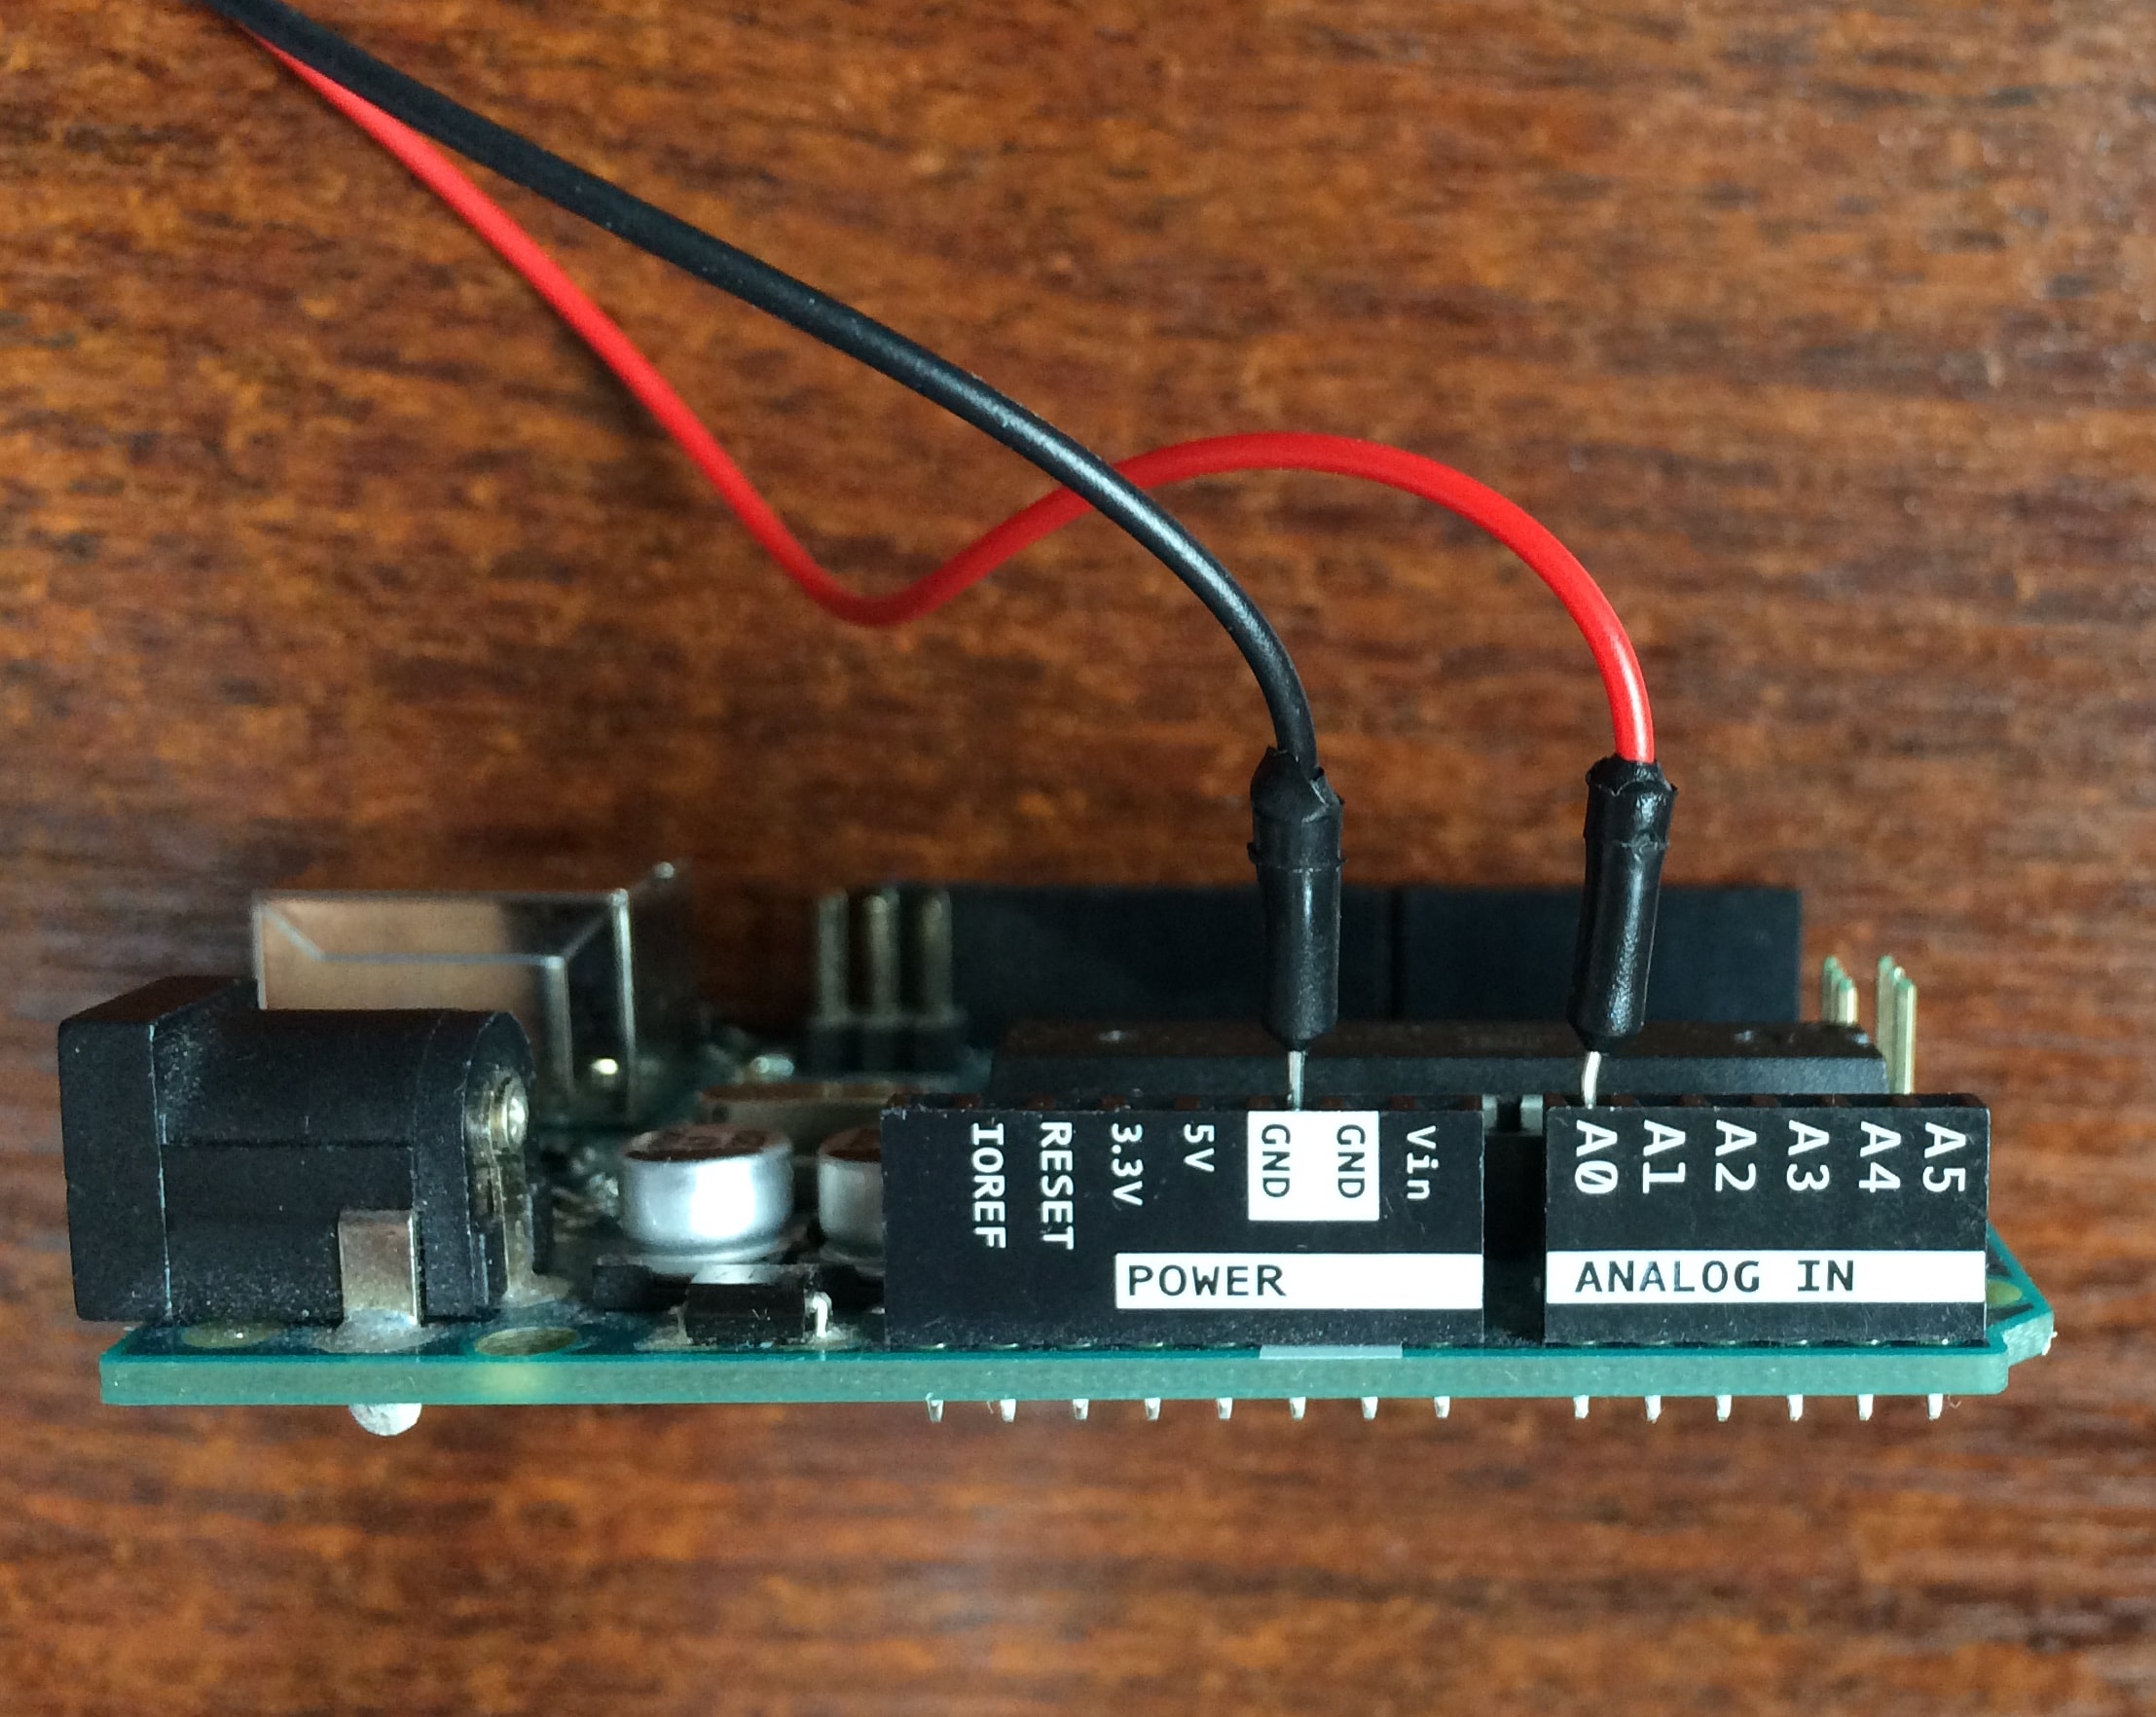
- 1x Arduino
- 2x Breadboard jumper cable
- Processing software: Download here
There are some limitations though:
You can only measure voltage between 0V and 5V. The analogRead() function of the Arduino will run in approximately 100 microseconds: the sampling rate cannot be above 10kHz.
The Arduino Program
This part is really straightforward. The idea is to acquire the signal on the analog pin of the Arduino and send it on the serial communication.
/*
* This program will run on the Arduino. It's role is to acquire the signal
*/
int measurePin=0; /* We use A0 pin as input */


int voltage=0; /* Container of the analog reading */
int period=20; /* Delay between two measures (in ms) */

void setup()
{
    Serial.begin(19200); /* Initialization of serial communication */
    pinMode(measurePin, INPUT);
}

void loop()
{
    voltage = analogRead(measurePin);
    Serial.println(voltage);
    delay(period);
}
Put a wire in the A0 analog port and another to the ground
The Processing program
Processing have a UI very similar to Arduino IDE so you shouldn’t be disorientated. You can simply type in a program and click on the Run button.
This program reads the data on the serial communication and render it as a graph.
import processing.serial.*;
Serial serialConnexion;
int voltage=0;
int border = 10;
int windowTime=12000; /* time span of the screen (in ms) */
int x=0;
int y=0;

void setup()
{
    size(1080, 820); /* Screen size */
     // Take the serial portname
     // change the index according to the order of your ports
    String portName = Serial.list()[4];
    serialConnexion = new Serial(this, portName, 19200); /* Create the connexion */
    println("Connected to "+portName);
    grid();

}

void grid()
{
    background(0); // white background
    smooth(); // smooth drawings

    strokeWeight(1);
    stroke(128,128,128); // color of grid (gray)
    double timeNotch, voltageNotch;

    // Vertical lines for the time: 1s scale
    timeNotch = (double)width / (double)windowTime * 1000.0;
    for (int i = (int)timeNotch; i <= width; i+=(int)timeNotch)
    {
        line(i, 0, i, height - border);
    }

    // Horizontal lines for the voltage: 0.2V scale
    voltageNotch = ((double)height - (double)(border * 2.0)) * 0.2 / 5.0;
    int counter = 0;
    for (int j =(int)voltageNotch; j <= height - border; j+= (int)voltageNotch)
    {
        /* Every volt, we draw a large line */
        if (counter % 5 == 4)
        {
            strokeWeight(2);
        }
        else
        {
            strokeWeight(1);
        }
        line(1, height - border - j, width, height - border - j);
        counter++;
    }

    strokeWeight(2); // width of lines
    stroke(255,255,255); // color of the axis (white)
    line(2, 0, 2, height - border); // Vertical ligne
    line(1, height - border, width, height - border); // Horizontal line

    strokeWeight(2);
    stroke(0,240,0);   // color of line (green)
}
/* Main drawing loop */
void draw()
{

    int oldx=x;
    x=(millis() % windowTime) * width / windowTime;
    if (oldx>x)
    {
     oldx=0; /* go back to the start of the screen */
     grid();
    }

     int oldy=y;
     y=int(map(voltage, 0, 1023, height - border, border)); /* resize y between 20 and 680 */
     line(oldx, oldy, x, y); /* draw the line */
}

void serialEvent (Serial serialConnexion)
{
    String stringRead=serialConnexion.readStringUntil('\n'); /* read serial until end of line */
    if (stringRead != null)
    {
        stringRead = trim(stringRead); // strip space
        voltage = int(stringRead);
    }
}
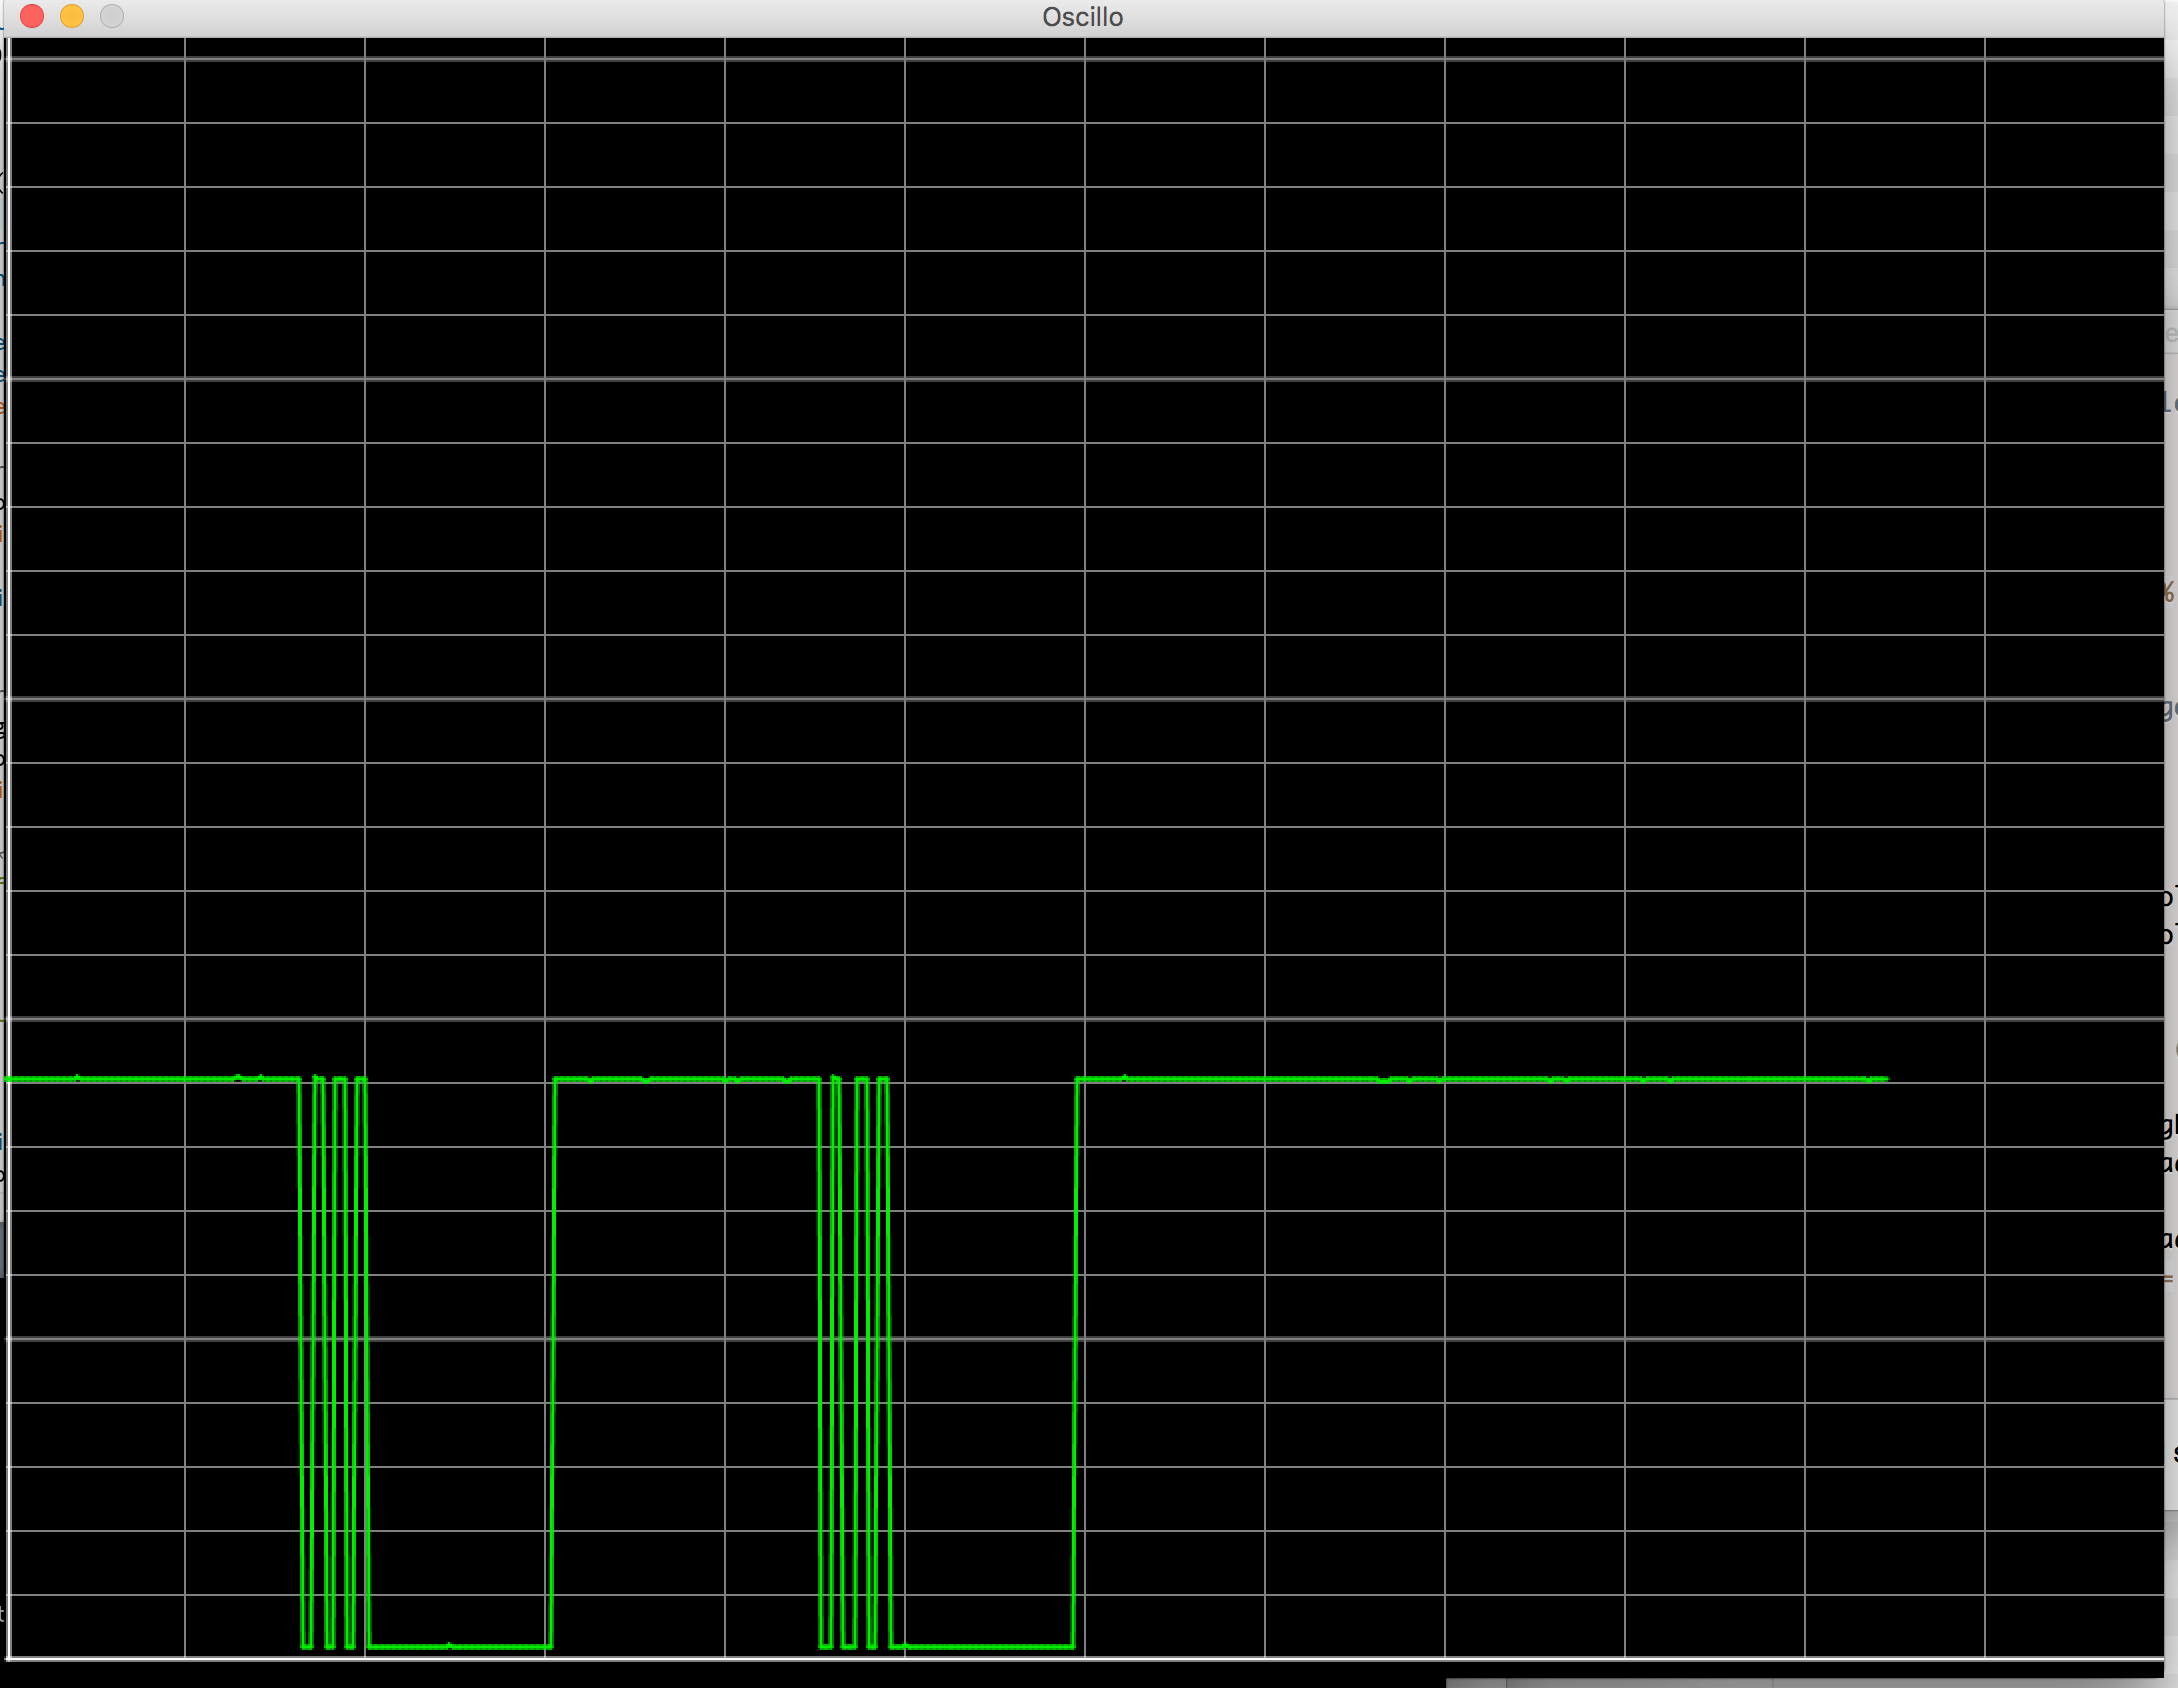 “L” led voltage when the reset button is pressed (on another arduino)
Todo in the future
It would be interesting to add some functionalities like the possibility to:
change the time resolutionchange the voltage resolutionimplement a trigger